
Setup for Stable Diffusion within a Jupyter Notebook using Mac’s A1 / GPU
The following is a description of how I got the simplest example of stable diffusion working in a Jupyter Notebook on my Mac Studio from scratch.
My setup is a Mac Studio 2022 with an Apple M1 Max. I updated my operating system to Ventura 13.0. My understaning is that you need macOS 12.3 or higher.
Step 1 - Installing Anaconda
From a clean install my first costly mistake was to download the wrong version of Anaconda, so don’t do the same as me, when you go to the Anaconda website find the download link but click ‘Get Additional Installers’.
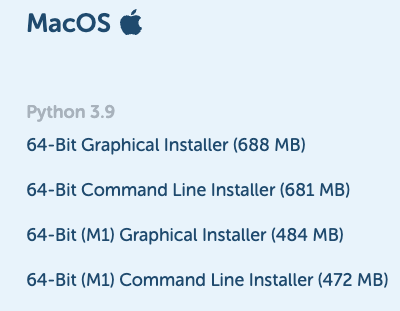
Presuming you have the M1 chip too, select ’64-Bit (M1) Graphical Installer’. Install this version and go to step 2.
If you had already downloaded and installed the non-M1 version one I like I did at first, unless you can find a cleaner way, you’ll have to uninstall and reinstall the correct version.
Step 2 - Create a Conda Environment for your Stable Diffusion in Jupyter
If you’re not already familiar with Conda environments take a little time to figure out the basics; i.e.
- what are environments
- how to create
- how to activate
- installing packages with the command line
I created an environemt called ‘diffusion’ and will use that in my examples. You can obviously use your own env name.
conda create -n diffusionActivate your conda environment.
conda activate diffusionThis activates the conda environment you’ll be using. Ensure the terminal prompt changes from (base) to (diffusion).
Step 3 - Download Stable Diffusion Locally
Before we move on, let’s get the stable diffusion files installed locally.
git clone -b apple-silicon-mps-support https://github.com/bfirsh/stable-diffusion.git
cd stable-diffusion
mkdir -p models/ldm/stable-diffusion-v1/
With stable-diffusion as your current folder you will find they provide a file called requirement.txt. We can use this to install the dependencies we need into our environment.
pip install -r requirements.txtStep 4 - Get the model checkpoint.
Now go to the original Hugging Face repository, create an account and read / understand their license. Download sd-v1-4.ckpt (~4 GB) and save it into your models/ldm/stable-diffusion-v1/ folder as model.ckpt in the directory you created above.
Next log-in to hugging face.
huggingface-cli loginStep 5 - Start up a Jupyter Note book
If using the graphical version of Anaconda like me, go to the Anaconda App and click on Environments. Now click the ‘diffusion’ environment and click play.
Go to the home button and start up Jupyter
OK we’re ready to try out first test example.
Leave a comment